
Inventory Adjustments
Inventory Adjustments
Purpose and when to use this record
Correct on-hand inventory for a warehouse with an auditable reason, quantities, costs, and resulting accounting impact.
At a glance
-
Identify it by: Status, and Date Created.
-
Check its business context: Warehouse, and Balancing Account.
-
Why care: Warehouse, item, unit, quantity, and cost must describe the same physical movement. A wrong warehouse or unit can make availability and valuation misleading.
-
Why care: Treat posted, processed, paid, reversed, and edit-locked states as controls—not ordinary descriptive fields. Confirm the source transaction before changing any state that the screen permits you to change.
-
Why care: Status communicates workflow progress to other staff. Change it only when the underlying work, approval, payment, or handoff has actually occurred.
Before you begin
You need the Brisk permission for the action you are taking on inventory adjustments. If a Create, Edit, or Delete control is absent, do not work around it with another user’s account; ask an administrator to review your role.
Have valid Balancing Account records ready first. Those selections determine where this Inventory Adjustment belongs and which later screens can find it.
Create an Inventory Adjustment
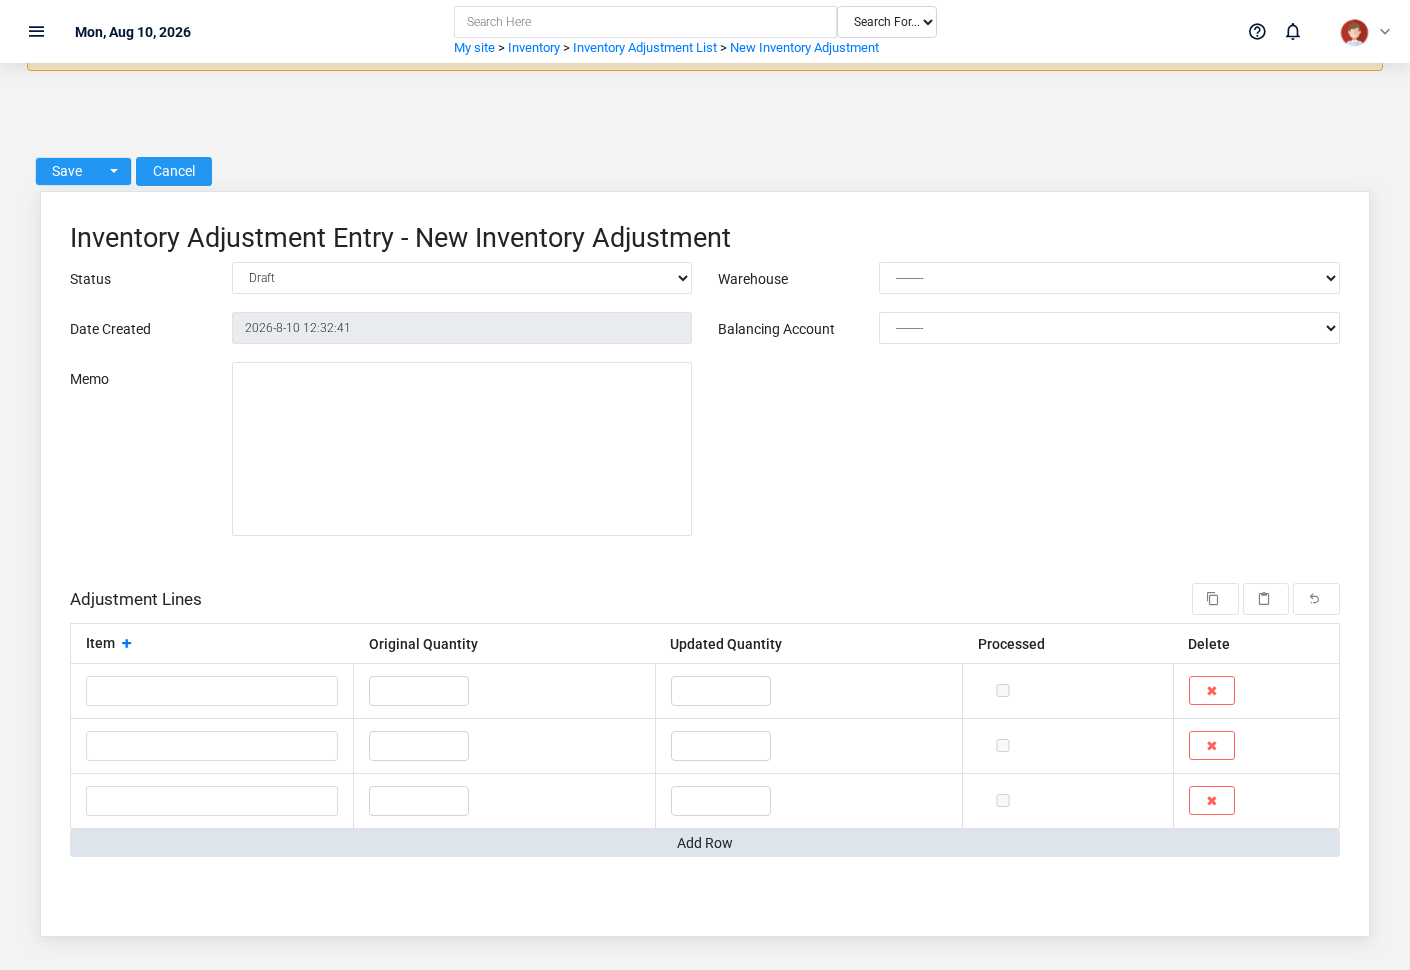
Create an Inventory Adjustment only after confirming that the source document or operational event has not already been entered.
-
Select the business context first: Warehouse, and Balancing Account.
-
Enter the required identifying and operational values: Balancing Account.
-
Review Status, and Edit Locked deliberately; these choices control availability or workflow rather than merely describing the record.
-
Save the Inventory Adjustment, then confirm Status, and Date Created on its detail page before continuing.
After saving: Review the resulting warehouse quantity and accounting entries. If the correction was wrong, make a traceable counter-adjustment rather than concealing the original event.
Delete an Inventory Adjustment
Delete this Inventory Adjustment only when it was entered by mistake and no downstream history depends on it. Use a reversal, void, credit, counter-adjustment, or status correction for a real event that later changed.
Before confirming, check for related Adjustment Lines, Inventory Records, Inventory Transfers, and Transactions. Brisk may refuse deletion when another record depends on this one; resolve the duplicate or use the supported correction workflow instead of breaking the trail.
On the confirmation page, verify Status, and Date Created. After confirmation, return to the Inventory Adjustments list and make sure only the intended Inventory Adjustment was removed.
Review Inventory Adjustment details
Use the detail page as the shared record of what this Inventory Adjustment currently means. Verify Status, Date Created, and Edit Locked before relying on it for a decision.
Follow Warehouse, and Balancing Account to determine whether the issue is on this Inventory Adjustment or on one of those linked records.
Next check: Review the resulting warehouse quantity and accounting entries. If the correction was wrong, make a traceable counter-adjustment rather than concealing the original event.
Edit an existing Inventory Adjustment
Edit this Inventory Adjustment to correct or complete the same source document or operational event; use the supported reversal or follow-up workflow when the business event itself changed.
-
Open the detail page. Compare Warehouse, and Balancing Account with the supporting document or approved request.
-
Recheck Status, Warehouse, Date Created, Balancing Account, and Edit Locked. These values are most likely to change warehouse availability, replenishment, quantities, and valuation.
-
Save the change, return to the list, and confirm that the Inventory Adjustment now appears under the expected Status, and Edit Locked.
After the change: Review the resulting warehouse quantity and accounting entries. If the correction was wrong, make a traceable counter-adjustment rather than concealing the original event.
Find and review inventory adjustments
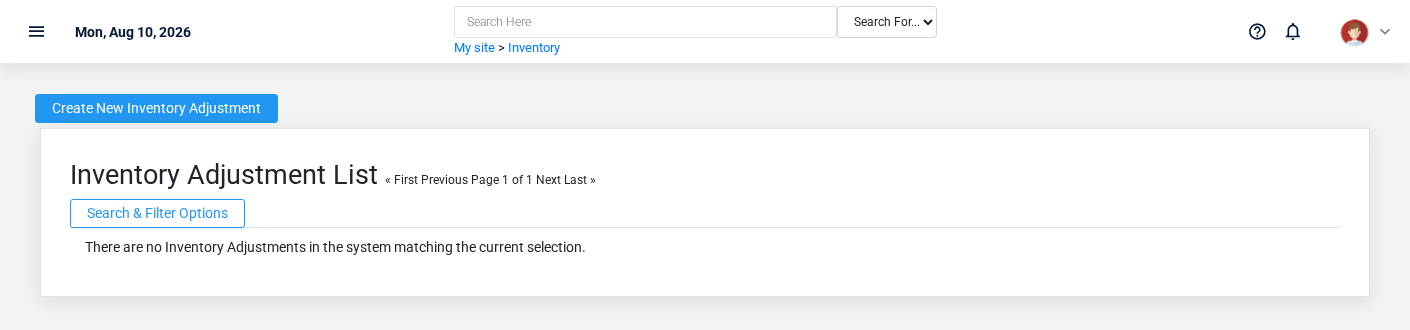
Use the Inventory Adjustments list to find the correct record before opening or changing it. Compare Status, and Date Created. Records with similar names or numbers can still belong to different Warehouse, and Balancing Account.
- The initial order emphasizes Id. Select a column heading when you need a different comparison.
Open the Inventory Adjustment whose Status, and Date Created match the task. If it is missing, clear the list filters and recheck Status, and Edit Locked rather than creating a replacement immediately.
Fields and business rules
Brisk stores 6 user-relevant fields for this Inventory Adjustment, including 2 linked-record selections and 1 controlled-choice field. Create and edit screens may hide calculated or workflow-managed values from this full reference.
| Field | Required | What it controls |
|---|---|---|
| Status | No | This is a system field that helps identify whether or not this document has affected the inventory and general ledger. Available values: Draft, Complete. |
| Warehouse | No | The inventory warehouse that this adjustment will affect. To adjust inventory in separate warehouses, separate inventory adjustments are required. |
| Date Created | No | Date and time recorded for date created on this inventory adjustment. |
| Balancing Account | Yes | The balancing account associated with this inventory adjustment. |
| Memo | No | The memo recorded for this inventory adjustment. |
| Edit Locked | No | Whether the edit locked option applies to this inventory adjustment. |
What happens next
Review the resulting warehouse quantity and accounting entries. If the correction was wrong, make a traceable counter-adjustment rather than concealing the original event.
Common mistakes and troubleshooting
-
The record will not save: Recheck Balancing Account and any message beside the field. A required related record may also be inactive or unavailable to your role.
-
The record saved but is not available where expected: Recheck Status, and Edit Locked, then clear the filters on the destination list. A saved record can still be inactive, unpublished, locked, unapproved, or in the wrong workflow state.
-
The values look right but the result is wrong: Open Warehouse, and Balancing Account from the detail page. Correct the specific relationship that is wrong instead of forcing a total or status to compensate for it.
No comments to display
No comments to display